Even if you’re uncertain about rooting your Android phone, unlocking its bootloader, and installing a custom ROM, you can still try out some features and settings that aren’t turned on by default. By default, every Android smartphone comes equipped with the ability to enable Developer options, which lets users test some hidden features and access parts of the phone that are usually locked away. While the Developer options are cleverly hidden away by default, it is quite easy to enable if you know what you’re doing. This post will guide you on How to Enable Developer Options in Realme Smartphones.
They’re designed to give developers the tools they need to test things, and changing them without knowing what they do might cause some of your apps to work incorrectly. So, suppose something gets wrong, try reverting the changes, and you are done.
Also Read: 5 Ways to Take Screenshots in Realme UI
How to Enable Developer Options in Realme Smartphones
Enabling Developer Options in a smartphone is as easy as tapping on a button a couple of times. If you don’t know how to enable Developer Options, here’s how to do so:
- Open Settings
- Head over to About Phone
- Click on “Version”
- Tap on the build number 7 times.
- Once done, you’ll notice a pop-up stating You’re in Developer mode.
With this, Developer options on your smartphone will now be enabled. That said, if you’re wondering where to find and access Developer options, here’s what to do:
- Open Settings
- Head over to Additional Settings
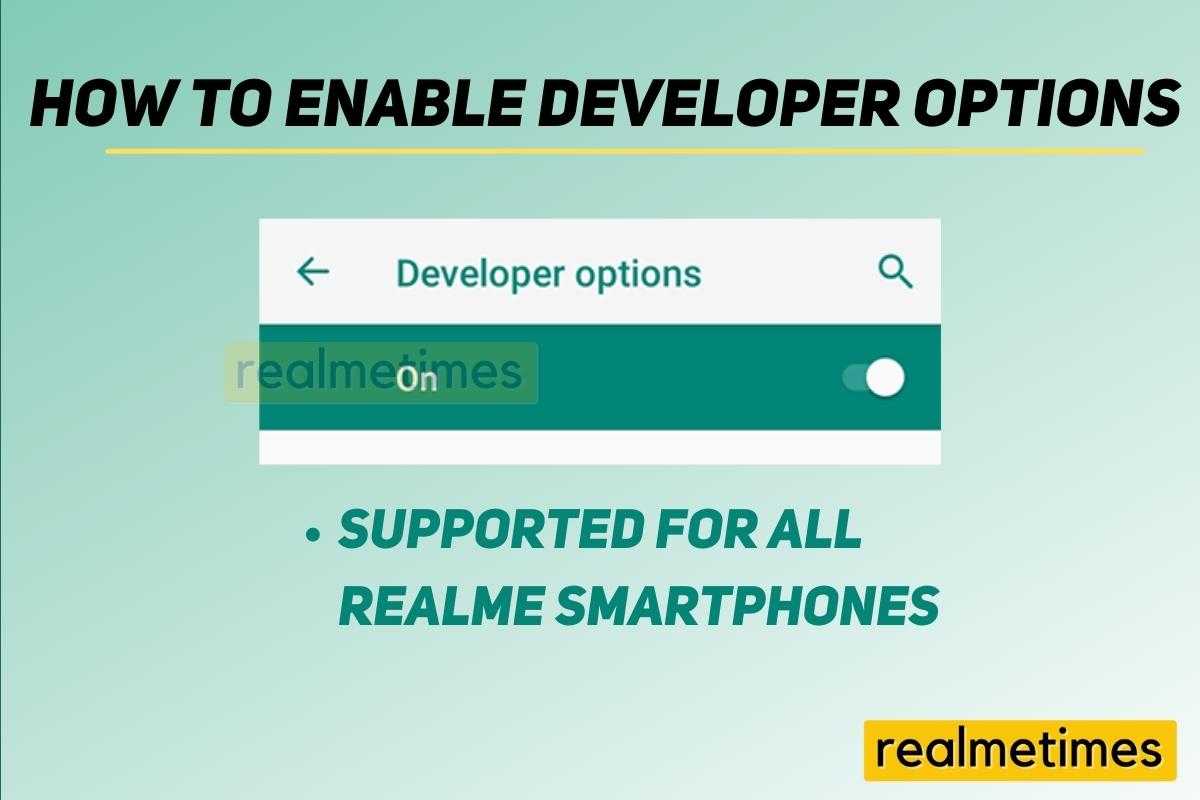
- On this page, you’ll find a menu named Developer Options.
- Click on it, and Enable the toggle.
- If you want to Disable Developer Options, switch off the Developer Options toggle, and done, it’s disabled.
That said, what options do you modify under Developer Options? Do let us know by dropping a comment down below. Also, read How to Uninstall System Apps on Realme Devices [Without Root].